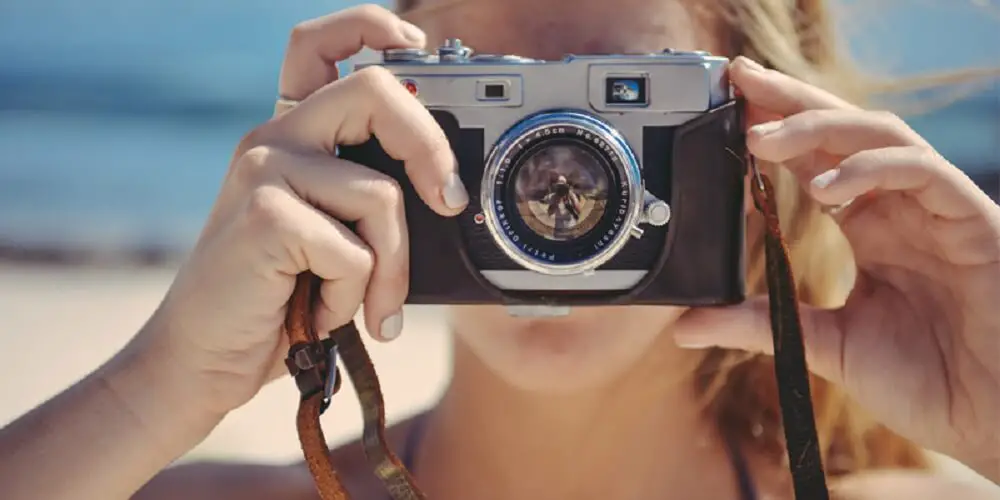
A picture is nothing but light, and the way it reflects and shines in your camera is what your audience sees. Better the lighting is, better is your photo/video.
When it comes to photography or videography, lighting can be of various types: natural light, ambient light or studio light.
The advantage of studio light is that you can shoot any time of the day or night. Further, studio light basically includes a main light, a back light, and a fill light.
Types of Lighting
A basic understanding of the various kinds of light will help you get the best results while shooting.
Your lighting doesn’t have to be all hard, though at times it can give you a nice effect, but it should be used sparingly.
Basically, there are two kinds of light – Directional and Diffused.
Directional Lighting comes at you from one direction. This light is directed directly from the source on to the subject.
Diffused Lighting doesn’t fall directly on the subject. Clouds act like a diffusion filter that spreads the light from the sun everywhere creating soft light.
Diffused light is best for photo/video because it is soft and gives a nice glow to the pictures.
Unless you are going in for some sort of a dramatic effect, diffused light is something that most of us want.
There are a couple of ways to get diffused light – either Bounce the light or Filter it!
The simplest way is to take a lamp and point it towards the ceiling. The light that you get in this way is not pointed directly at the subject, and so the light is very soft on the face of the subject.
Using inexpensive lights is the easiest and low-budget way to do it. Just clip-them onto whatever is handy, point it towards the ceiling or wall, and you’ll get diffused light.
If you want to go for a professional light kit, gadgets exists that can help you to diffuse light to whatever extent you want to. A couple of options include:
- Reflective umbrellas that give you a moderate level of diffusion
- Use a Softbox for even softer looks; it gives excellent and high level of diffusion
Using Natural Light
The easiest way to light your video is to take advantage of natural light (the light that exists already). That way you don’t have to setup any lights at all.
Here are the steps you can follow in case you are shooting at home for best natural lighting:
- Brighten up the rooms
- Open blinds, curtains
- Open Doors
- Turn on Lamps
Placing the Subject
Once you do this, place the subject in such a way that it best lightens up their face. This usually means that the subject should be about 3/4th angle from the brightest source of light.
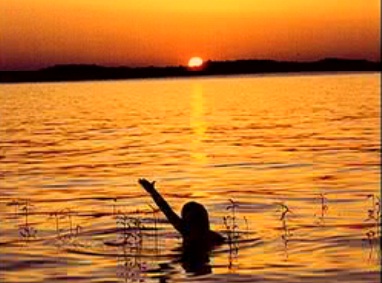
This is important because you don’t want to subject to be a silhouette, even though that can be used for a beautiful effect. If you take the video with the sun behind the camera, the face will be brightly lit, but when it is behinds the subject, you get a silhouette.
Before you begin shooting, here are some things that you should keep in mind. First thing to observe is from which direction the light is coming. Generally speaking the light should be coming from behind the camera and falling on the subject’s face. The pictures can look totally different even in the same room, if the direction of the light is different.
Lighting Equipment
Add-on Lights
Add-on Light is a battery-operated light that can either sit onto the camcorder’s accessory shoe (hot shoe) or to a bracket attached to the camcorder.
You should always arrange for your main supply of light and treat the portable light only as a back-up source.
Portable lamps can also be helpful while shooting outdoors. Using an add-on light, you can fill-in the shadows on a persons face when shooting in bright sunlight.
Camera light meter
Photographers know the importance of appropriate lighting when shooting pictures.
If the exposure is not set correctly, the image can get over or under exposed and the end result would not be good. That is why photographers want to be sure that the lighting is just about correct.
Though with experience, you know how a shot would come out, professionals also rely on devices that can give a fairly accurate reading of how bright a scene is.
That is where a light meter is a far more accurate and convenient way to determine this. It basically tells you if the amount of light reaching the camera will be enough to properly expose the image.
The reason you use a light meter is to make the whole process more efficient, faster, and it also improves your skills.

- You have more control over the look of your images
- By using your meter and testing your camera system, you can get an accurate representation of how your camera responds to light.
- A light meter also trains your eye to be better at judging different light levels.
- If you’re a pro photographer, it makes you faster on the set.
- By carrying your meter on a location scout, and measuring the light levels, you would know exactly how to plan your shoot.
- Just remember your light levels for a given scene, and you can come back weeks later to shoot additional shots at that same location for that scene to get a sense of continuity.
- By maintaining consistent light levels within a scene, post production becomes easier, quicker, and more affordable